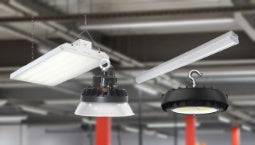
High Bay LED Lighting
 Industrial Low Bay Lighting
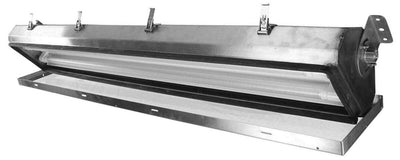
 Industrial Strip Lights
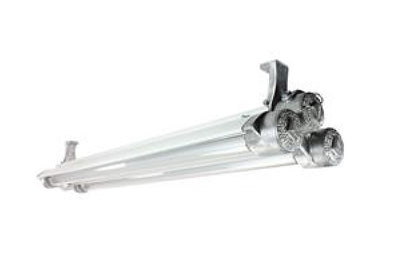
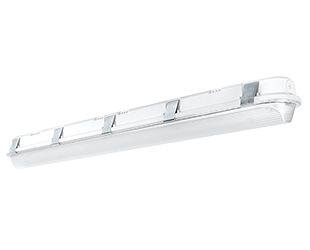
 Vapor Tight Lighting
 LED Shop Lights
 LED Ready Fixtures
 Hazardous Area / Explosion Proof Lighting
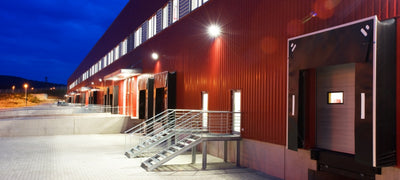
 Loading Dock Lights
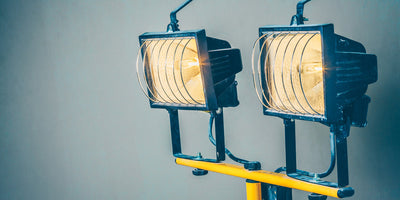
 Construction / Portable Lighting
 High Temperature LED Lights
 Industrial Ceiling Fans
 LED Work Lights
 Networked Controlled Lighting
 American Made Industrial Lighting
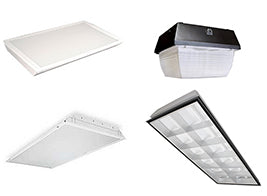
 Troffer Lights
 LED Flat Panel Lights
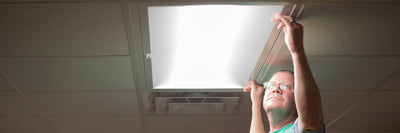
 Drop Ceiling Lights
 LED Ready Troffers
 Suspended LED Lights
 LED Cylinder Lights
 Stairway & Corridor Lighting
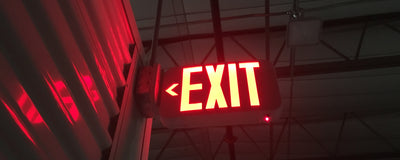
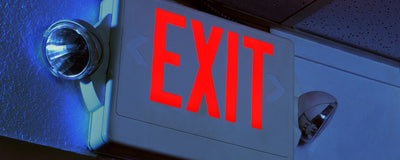
 Exit / Emergency
 Wrap Lighting Fixtures
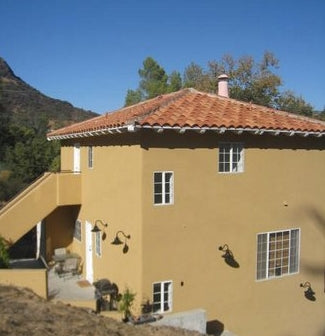
 Gooseneck and Barn Lights
 Commercial Sign Lights
 LED Track Lighting Fixtures & Systems
 Recessed Lighting
 Wafer Lighting
 RGB LED Lights
 Hospital Bed Lights
 Refrigeration Lighting
 Grow Lights
 UV Disinfecting Lights & Air Purifier Fixtures
 American Made Commercial Lighting
 LED Flood Lights
 Outdoor Wall Lights
 LED Area Lights
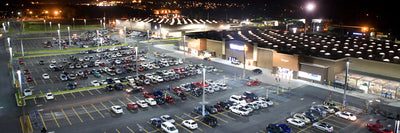
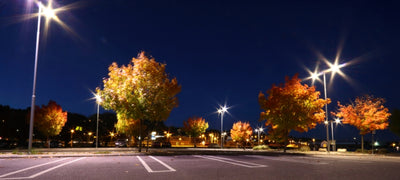
 Parking Lot Lights & Poles
 Outdoor Post Top Lights
 LED Stadium Lighting
 Canopy Lights
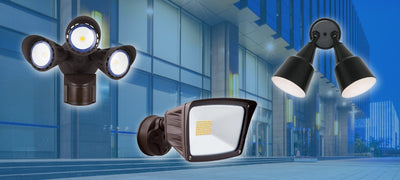
 Security & Motion Sensor Lights
 LED Bollard Lights
 Outdoor LED Linear Light Fixtures
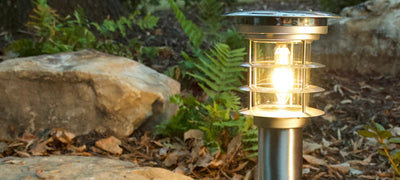
 Solar Powered LED Lighting
 Dusk to Dawn Lights
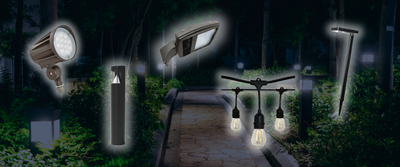
 Landscape Lighting
 Outdoor String Lights
 Coastal Wildlife Lighting
 Outdoor House Lights
 American Made Outdoor Lighting
 Architectural Linear Lights
 Architectural Grid Mount Lights
 Architectural Round Pendant Lights
 Architectural Square Linear Lights
 Architectural X-Shaped Linear Lights
 Architectural LED Wall Packs
 Ceiling Fans
 Ceiling Lights
 Chandelier Lights
 Pendant Lighting
 Island Lights
 Under Cabinet Lighting
 Vanity Lights
 Wall Sconces
 LED Tape Lights
 LED Mirrors
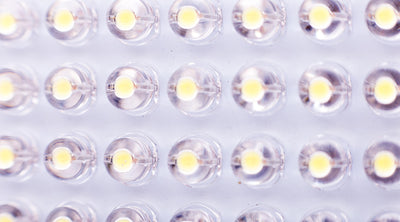
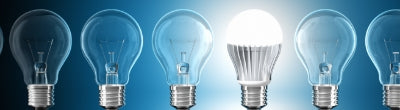
 LED Light Bulbs
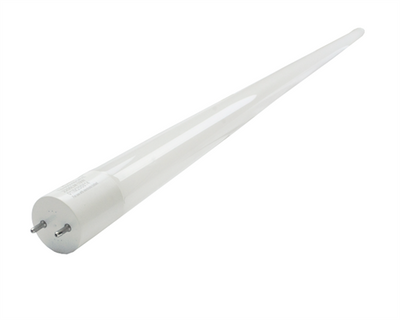
 LED Tube Lights
 LED Corn Lights
 Vintage LED Bulbs
 Decorative LED Bulbs
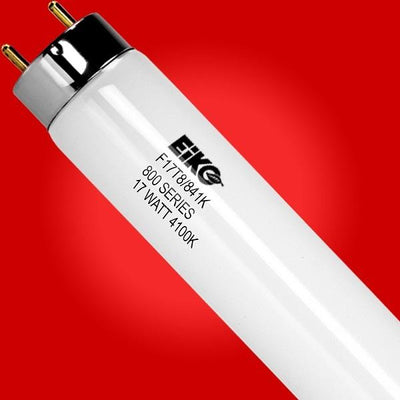
 Fluorescent Light Bulbs
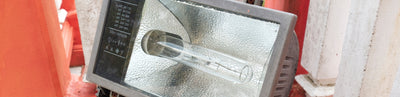
 Metal Halide Lamps
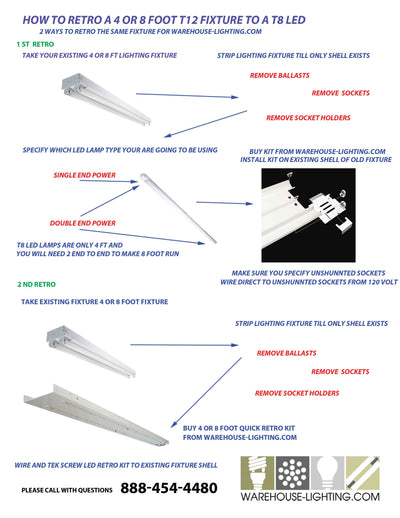
 LED Magnetic Strip Retrofit Kits
 LED Strip Light Retrofit Kits
 High Bay LED Retrofit Kits
 LED Troffer Retrofit Kits
 LED Wall Pack Retrofit
 LED Street Light Retrofit Kits
 Recessed Lighting LED Retrofit Kits
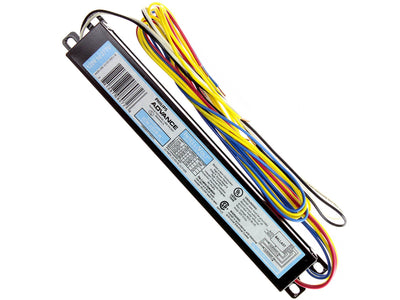
 Ballasts & Drivers
 Emergency Ballast For LED & Fluorescent Lights
 Electrical Supplies & Mounting Kits
 Electrical Tools
 Switches & Receptacles
 Electrical Power Cords
 Sensors and Timers
 Smart Home Automation
 High Bay Occupancy Sensors
 Electric Vehicle Chargers
 Hand Dryers
 LED Shop Lights
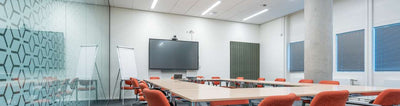
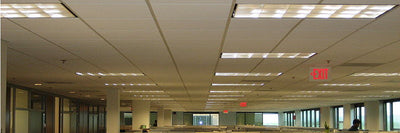
 Office Lights
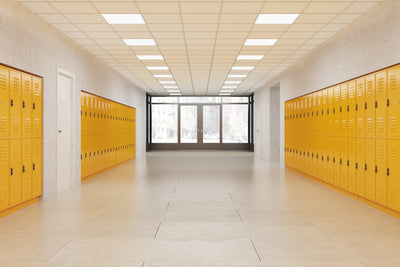
 Classroom Lights
 Church Lights
 Gym Lighting
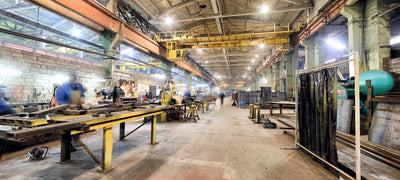
 Factory Lights
 Hospital Lights
 Walkway Lights
 Parking Lot Lights
 Exterior Building Lights
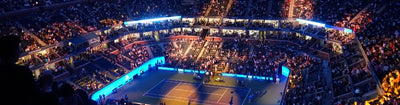
 Sports Lighting
 Airport Lights
 Garage LED Lighting
 NSF Rated Lights
 TAA LED Lighting
 Restaurant Lights
 Corridor Lights
 Barn Lighting
Lighting Blog
Lighting and electrical Blog for electricians and electrical professionals. We try to educate lighting specifiers to new technologies in electrical marketplace today so that they can make a sound buying decision. We welcome discussions to our electrical posts and are open to discussions as long as it pertains to our markets.
Filters: