Related Collections

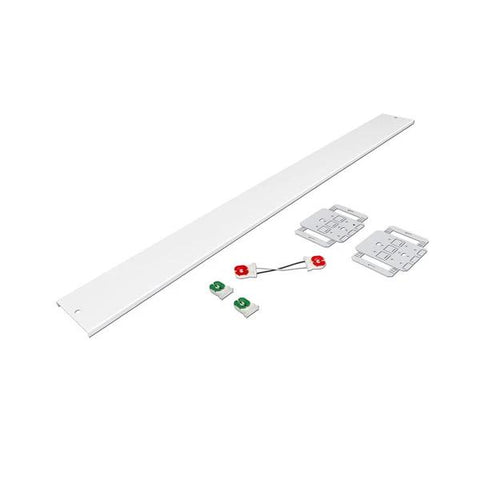
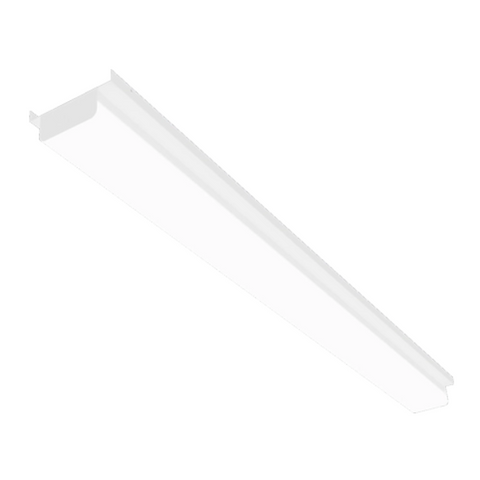
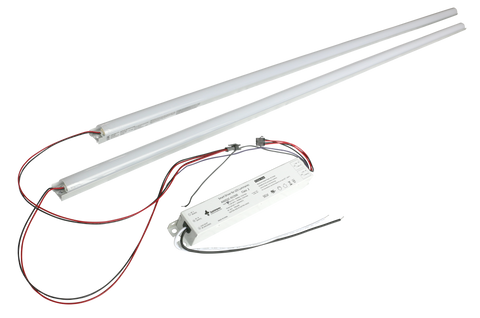
4 FT LED Retrofit Kits (LED Light Conversion Kits)

Great pricing on all of our 4 foot strip retrofit kit products. Used to convert old technology to LED energy efficient lighting easily and quickly. FREE Delivery on qualified purchases.

View (6) Products

8ft LED Strip Light Retrofit Kits

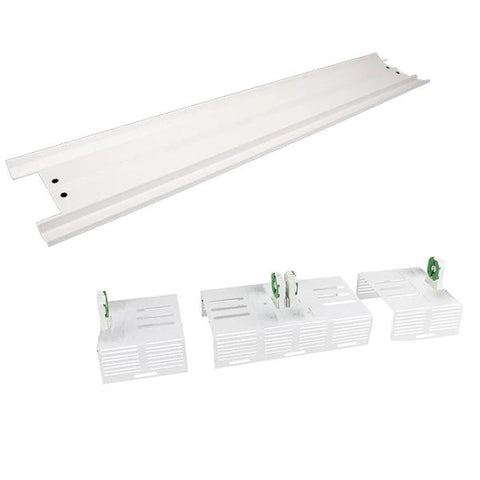
Replace your fluorescent light with a 8-foot LED retrofit conversion kit from Warehouse Lighting. Our recessed lighting retrofit kits allow you to update your 8ft fluorescent fixture to an LED light with ease. Shop 8 foot LED Shop Light conversion kits today!

View (8) Products

T8 retrofit kits

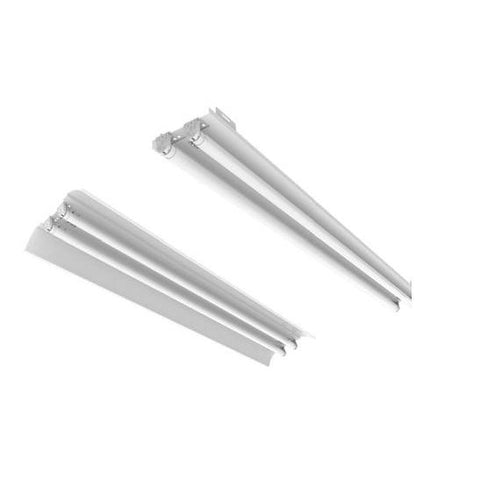
Looking for rebate to retrofit old t8 lights? We have your kits to make it a fast, easy swap. Our products are rebate compliant and DLC and UL approved. Talk to us on your retrofit projects for professional advice.

View (11) Products
Related Products

Retro a Fluorescent Strip Fixture to LED 

When it comes to saving energy and money with your lighting solutions, LED technology is the way to go. If you already have fixtures in place that you are looking to convert for energy-savings, it is an easy option to retrofit a fluorescent strip fixture to LED. It doesn’t make sense to buy a whole new fixture for the power of LED when we have kits that can make this a relatively quick and easy solution. Here are a few things to know about how to retrofit a fluorescent strip fixture to LED.

  • Never work on a fixture with power running through it. Double check to ensure there is no power. Also, make sure you use wire nuts or electrical tape for any wires you aren’t intending to use.
  • Make sure you choose the right kit for your needs. The two options are a CS bracket kit and an RX-8 kit. To find the right kit you should measure your fixture to determine which kit would work best for your needs. The main difference in kits will be that one is a flat plate design and the other allows you to break it into three sections. It will also depend on the size of your fixture and the intended purposes.
  • Choose bracket kits that allow you to adjust them as you go along. This will help you with proper placement. Even after you have placed them with the tombstones, you will still be able to move them as needed.
  • Select unshunted tombstones. They are ideal for converting to LED. These tombstones have four holes that will help with keeping the bracket securely placed and equally balanced.
  • Divide your fixture in half in terms of wiring. Using the bulbs to measure, find the halfway point of your fixture and mark it. This will make it easier to evenly placed your brackets.
  • On most fixtures, you will only have one power end. The other will be a dummy side with no actual power running to it. When working with larger fixtures, you will run your power from one end to that center bracket to give both sides power.
  • It is okay to use the existing wires from the fixture to jumper power wires to the other sockets. This is a good way to recycle and the wires will get the job done without needing to purchase new wires.
  • Many people screw down their brackets and then wire them. It is much easier to run your wires through and then screw them down. This also lets you make any necessary adjustments you may need to make.

These tips are the foundation of how to convert a fluorescent to an LED option.

You May Also Be Interested in These Articles...
Convert t12 4 and 8 foot fixtures to LED lamps or retro kits

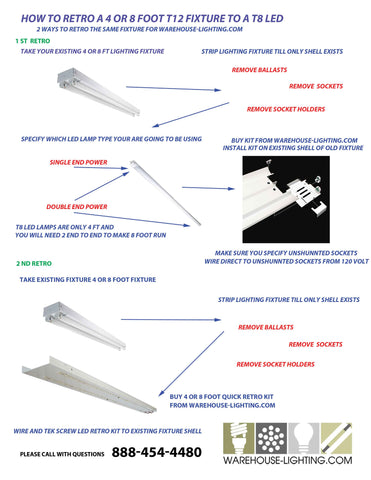
Convert t12 4 and 8 foot fixtures to LED lamps or retro kits

Info graphic showing how to convert T12 and T8 lighting fixtures to LED's. Learn How to retro fit your old lighting fixtures.

Read Article
7 Tips to Maximize LED Retrofits

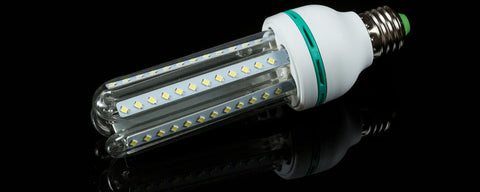
7 Tips to Maximize LED Retrofits

If you have taken the time to retrofit, you may think you are done and can simply reap the benefits of LED. However, there are a few tips to maximize LED retrofits to their full potential.

Read Article
Upgrade Your Office Lighting with LED Magnetic Strip Retrofit Kits

Upgrade Your Office Lighting with LED Magnetic Strip Retrofit Kits

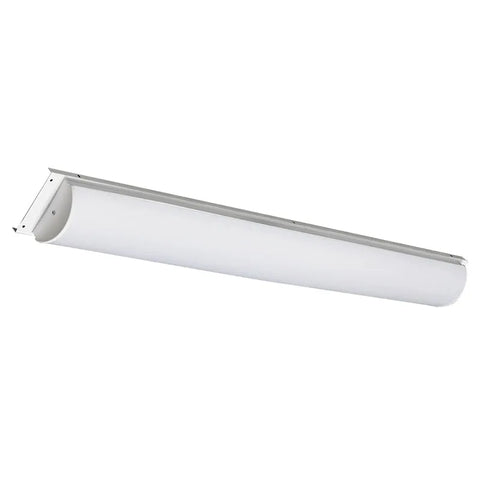
A great, cost-effective option is to use LED Magnetic Strip Retrofit Kits that can be used to retrofit existing recessed troffers, vapor tight lights, industrial strip lights and wrap fixtures.

Read Article
Consider Watching These Videos as Well...
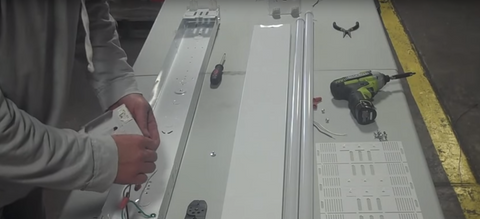
4 Foot T8 Or T12 Retro To LED

4 Foot T8 Or T12 Retro To LED

If you are looking to switch to the impressive power and energy-saving efficiency of LED lighting solutions, you don’t need to buy all new fixtures. In fact, converting a 4 foot t8 or t12 ...

Watch Video
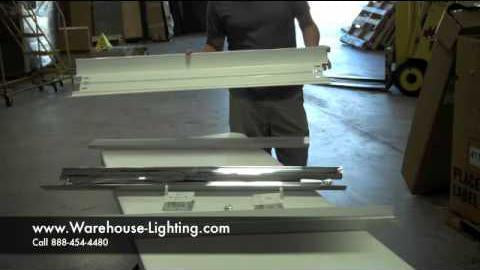
Industrial Strip Retro Kit Options

Industrial Strip Retro Kit Options

When it comes to ensuring proper illumination and energy efficient fixtures, newer technology is often better than the older models. With our industrial strip retro kit options, you don’t ...

Watch Video

Video Transcription

Hi, this is James Abraham with Warehouse Lighting. We are going to take apart a T12 fixture, strip it down, and change it into either a T8 4 lamp LED or T8 4 lamp fluorescent. The first thing we’re going to do here is to strip the fixture down, and take all the components out which I’ll be doing right now, and then we’ll show you two different versions; one of the LED and one of the fluorescent. First, we’re going to start by disassembling the fixture, taking the ballast covers off, taking out our center brackets, and our end brackets. Of course, this is going to be hanging upside down when you do it, but this is just the easiest way to do it, and then we’re going to remove the ballast. Now, we just a have a stripped down fixture. We have a power lead that I’m just using a cable for right now to represent what’s going to be there when you’re hanging direct wired from the ceiling. Now that it’s totally stripped down we’re going to take the first option which is converting to LED. When converting an 8-foot fixture to a LED, there’s two kits you can buy from us; one is an RX 8 kit and the other is a kit with a CS bracket or an adjustable bracket. When doing this you need to measure the outside or the OD dimension of your fixture to figure out what size is going to be appropriate. We also have kits that are already standard sized too for a four and four thirds which you can just basically tech screw to the side of the fixture. In our kits, you’re either going to get this bracket, which you break apart and install one section on one end of the fixture with this section goes into the middle of the fixture and this section goes to the other end of the fixture. The other kit that you possibly can get is a CS bracket kit which shows and basically has a flat plate, and then it’s got two adjustable arms to it that slide in and adjust to the width of the fixture. So, it really can up to really about a six inch fixture, I think it is or a five and a half inch fixture, as you can see by the little hole, and then with the kits you’re going to receive on an 8 foot kit, you’re going to receive 8 tech screws, you’re going to receive tombstones. These particular tombstones are what’s called unshunted. They are used for LED conversions. It’s basically got four holes on the bottom, and the parts you need to bring to the party yourself are either wire to connect the fixture together and wire nuts. When converting an 8 foot fixture, you really want to divide the fixture in half, and start with the center brackets, really at that center point, because you’re going to need to measure the bulb spout out to both ends with the center. On the CS brackets, you will basically need two CS brackets, and those brackets are going to face outward. You can see that I measured this fixture in half already. There’s the center mark put together on another bracket, and it depends on how many lamps that you want in this fixture. If you’re going to want four lamps, four four-foot lamps, you basically want to face the two tombstone centers to the inside of where your mark is. So, basically a tombstones going to point this way and a tombstones going to point this way. I’ll show you. You want to make sure that these kits are directly center on an LED conversion. Two of the centers are going to be dummies. They are not going to have any wires going to them at all. They are basically sockets. Now we have those put together, we have them centered, we’re then going to proceed to wire the sockets, the two center sockets on the one end, because you have the power end which is over here. This is where we’re going to start our power and then we’re going to move them to the far center brackets for the LED conversions when wiring these center sockets. What I usually use is the preexisting wires so we recycle what wire is there. You can use wire cutters for this or you can pull them out of the sockets. I find that wiggling them seems to work pretty well. I’m going to cut this one out of this. We have a piece of black, piece of white. You can use your wire nuts if you want now. Discard this piece. You can also use this to run the center wire. What I do is, I usually start with the far end that has the power. We’re going to also put another kit on that end and these are unshunted sockets for a single end power LED lamp, which is the most popular now being that their UL listed. Again, assemble the bracket before you tech screw the brackets down. What I like to do is wire the brackets first, adjust them, and make sure they’re centered. What we’ve got is our power leads here, of course our ground is going to go around here. We can put that later. We’ve got black and white, what I’m using is a cord to simulate the power lead, you have coming into your fixture. What I’ll do is, I grab the white wire and what I’ll do is cut that wire to length. We can also use this extra wire as our jumper from tombstone to tombstone. I try to give it some length so we’ll have a little extra. I’m having a little issue with getting the darn thing cut. Some wires like this can be rigid from time. There we go. We’re going to take our white lead and plug it into our white power. A lot of electricians will electrical tape that end, too. Now, what you’re going to do is, you’re going to start with the far end, and you’re going to plug in the wire from the power, and you’re going to do the same thing with your black, and then you’re going to plug this one into the opposite spot on the tombstone. Now, to get it to run from tombstone to tombstone, you’re going to take a smaller piece of wire, and do what’s called jumper it to the next set of tombstones that end up going to the first tombstone spot. Now, from black, you want to make sure you use the same colors, jumper it to the black. Now, with the white the same thing. So, now we’re going to jumper from the first white, and being that these are only single end power, this is the only end you’re going to have to worry about on this side, to the first white from the first white to the second white on the next tombstone. Now you’re going to have to run this line all the way to the center of the next run of tombstones, and a lot of this stuff you can already pre-prepare on the ground, and then put the kit up as you’re lifting the fixture, as you’ve got the fixture up. So on the next one I want to make sure we’ve got enough line or we’re going to have to pull some more line. Okay, now to show you how the jumper goes from one section of the fixture to the next, you’re going to take this, we need two jumpers here, I’m using a different color, I’m using blue to go all the way to the other end with one coming from white side and one coming from the black side, this side is actually technically done, you just want to remember, especially when I’m using the same color wire, is going to the other this blue wires coming from our white side, next blue wires coming to our black side. We’re going to use a jumper the same way we did on the other side. We’re going to jump one side to the adjacent then we’re going to jump the other wire to one side to the adjacent wire on one being that these are marked as half way, we can tech screw, as long as we keep them centered, we can tech screw the center into the fixture, screw the other side down, and so on with the other bracket. Okay now attaching the end bracket what you do is you basically take one lamp, that’s what I do, I bring it to where the end of where that lamp is, and this bracket is adjustable, and can be slid back and forth, and then what I do is I tech screw the bracket down, and then I make the adjustments afterwards to make sure its snug on both ends. Also, one thing you want to consider, the thing I did was I hooked up the power just because the power was off, but if the power is on, you definitely want to leave it off, but you shouldn’t be hooking anything up with the power on. Now that you have the extension of the first run, you can actually twist in the bulbs and make sure they’re snug. Okay, we’re going to take out from here, we’re going to do the other end, which is actually a dummy end to the fixture, and I’ll show you that here in a second. Okay, this end bracket is on the other end of the fixture, and just so you know, on the center it depends on where your wire comes into the fixture, you would maybe not have to use the extension wires if the power was coming into the center fixtures, because you could make the center tombstones both the hot tombstones, but on this end there’s going to be no wires, all its used for is to hold the lamps in place. So, you’re going to tech screw that bracket down, and you want to make sure it’s measured out with one of your lamps from end to end, and you want to make sure you tech screw it in same with this side, and again these brackets are adjustable if there’s a problem you can slide it back and forth. Now, it depends on what you bought with your fixture. If you bought reflectors or you bought ballast covers, you’re going to install those on the fixture itself to cover up everything that’s inside per UL regulations. Those would be installed with what are called quarter turns which are these here. You will use those in the center. You can put the quarter turns in and twist down and then repeat on both sides of the fixture. With this put on it makes it look like a brand new fixture. There we go. Take this side and push it in. Alright, now that we have those in, we can start installing the lamps. Installation of lamps is easy. What you want to do is find what end is the positive charged end, you slide it in like a regular T8. These are our 20 watt LEDs, DLC rated. See, you can make that mistake of putting the wrong end on the wrong side. Remember, the centers are dummy ends on this side. On this side, the center is where our powers coming from. Make sure you pull off all the protectors. Again, I just installed it on the wrong side. Now we’re going to power the unit up. Now, in powering the unit up, of course, it’s going to be hooked up to the top of your ceiling. For today, all I did was hook up a cord, so that you guys could see what it looks when its powered up. Again, this is our 20 watt LED. It’s DLC rated. I’m going to plug this in and now you can see how it looks when its turned on. There’s other options you can get with this kit which is a white reflector or a mirrored reflector which is 95 percent. It pushes 95 percent of the light out of the fixture and down to the floor. On an LED, it’s not so necessary because it’s more directional than a regular fluorescent is, and it doesn’t have the total circumference of light that a fluorescent does, but this has been a quick lesson. Let us know if you have any questions, and we’ll be glad to help you out with any retroing you have to do. The next video we’re going to do is retroing it to a fluorescent. Have a great day. Thanks. You can call us at 888 454 4480. Thanks. This is James Abraham with Warehouse Lighting.

Related Collections

4 FT LED Retrofit Kits (LED Light Conversion Kits)

Great pricing on all of our 4 foot strip retrofit kit products. Used to convert old technology to LED energy efficient lighting easily and quickly. FREE Delivery on qualified purchases.

View (6) Products

8ft LED Strip Light Retrofit Kits

Replace your fluorescent light with a 8-foot LED retrofit conversion kit from Warehouse Lighting. Our recessed lighting retrofit kits allow you to update your 8ft fluorescent fixture to an LED light with ease. Shop 8 foot LED Shop Light conversion kits today!

View (8) Products

T8 retrofit kits

Looking for rebate to retrofit old t8 lights? We have your kits to make it a fast, easy swap. Our products are rebate compliant and DLC and UL approved. Talk to us on your retrofit projects for professional advice.

View (11) Products
Related Products